.JPG)
Completed the final five pumpkins for the 2010 display, five pumpkins impaled by things you might find in a tool shed.
The pumpkins still need to be sealed which will help blend the paint job and reduce the value of the bright white eyes.
All the tools were created with recycled cardboard and covered with papier mache strips and papier clay.
Just a couple more things to finish up before everything goes on display this Friday.
.JPG)
.JPG)
.JPG)
.JPG)
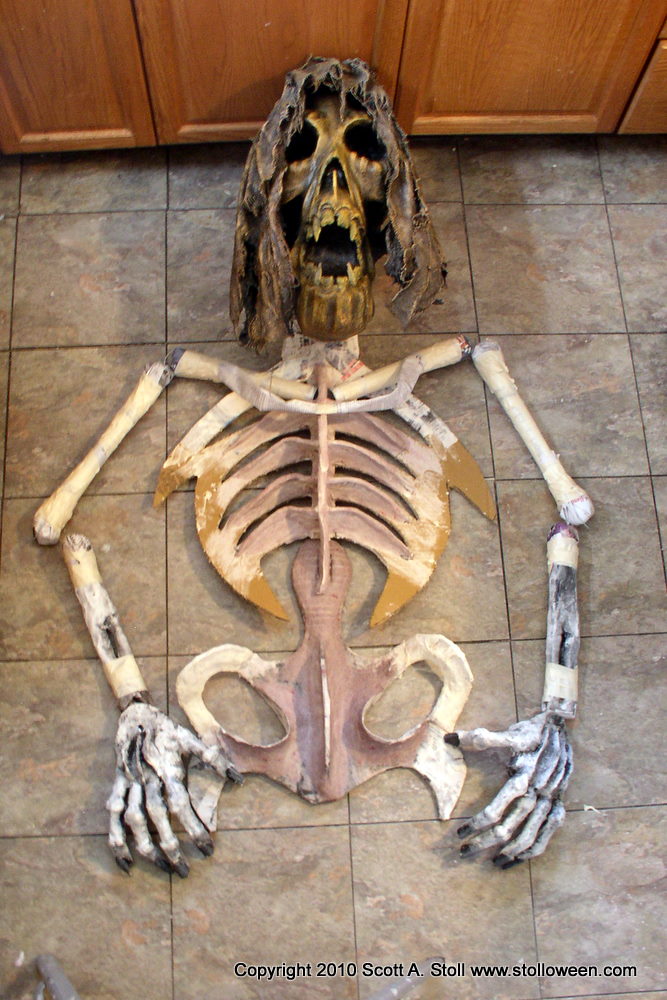
So I’m really pushing the deadline this year for Halloween decorations…our yard display goes up next week and I’m still working on three bodies for my Warden characters.
Typically I just build the ribcage, forearms and hands…everything else is cloaked in fabric but for The Wardens I don’t want the fabric, I want you to be able to see the entire skeletal structure.
After laying out the head, chest, arms and hands it really became apparent that these guys needed some additional vertebrae and pelvis…they will be standing behind crates and pumpkins so legs really are not necessary.
The last thing I needed at this point was to construct three more things…but if you are going to do it then at least do it right.
Three stylized pelvises to go along with the stylized rib cages.
.JPG)
.JPG)
.JPG)
.JPG)
.JPG)
.JPG)
When completed the creatures should stand about seven feet tall.
.JPG)
Today is October 8th and believe it or not I’m ahead of the game…or at least compared to last year.
The light at the end of the tunnel is visible although I’ve got to implement some serious time management skills.
Yesterday I managed to get some items pulled from the garage and organized such as columns, fence, shovels, barrel, etc.
.JPG)
The rafters of the garage are still packed with supports, crates and other things needed for the display.
My list of props that need to be built is winding down, the only things left are five more pumpkins and three bodies for some new characters that will be this year’s centerpiece.
.JPG)
The miscellaneous stuff is the thing that always gets me.
Still to do:
.JPG)
Hopefully next week will be productive and I can get these things accomplished.
The goal is to relax the last two weeks of October.
A lovely thought.
.JPG)
Here are a few tidbits of information concerning the construction of “Buster Gravesley” that did not make it into the project tutorial.
Cardboard
One RockBand box is enough to build a four foot high coffin frame.

Collar Bones
Once the ribs were attached to the spinal cord, additional tubes of newspaper were used to make the collar bones. The collar bones are not anatomically accurate, like most of my work I use diagrams for reference but freely deviate from reality.

Bones
The forearms (radius and ulna) were created by coating a rolled tube of newpaper with papier mache strips, allowing to dry, then cutting holes to create the look of two bones. Also, to support the newspaper while being papier mached the inside of the tube was filled with crumpled newspaper to prevent collapse.


The first eyeball created for buster was red with veins created from red thread. The result was sort of cool but I did not feel it was right for this project.

Coffin
The coffin was made using 44 individual wood planks each cut from cardboard, strip mached, textured and numbered.