Saturday, September 27, 2008

Tree Faces

Don’t go into the woods! The faces were made from papier mache formed over a wood base then attached via screws to the trunk of a tree, a relatively simple process that yields some rather disturbing results.


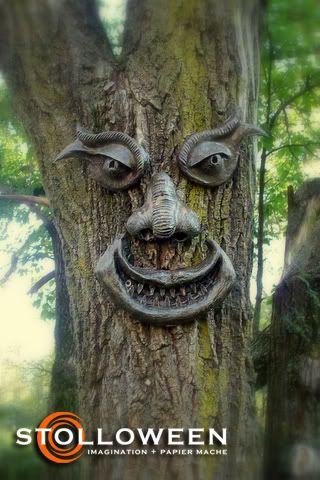
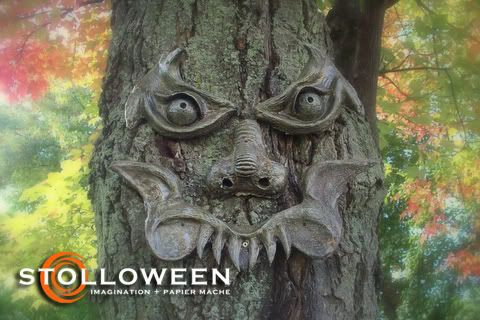
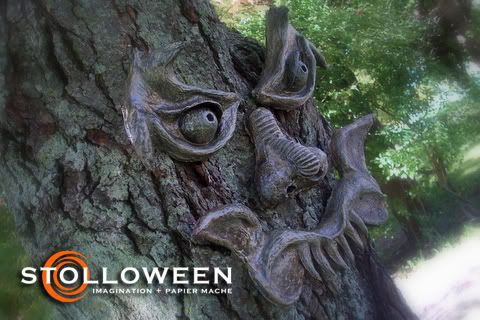
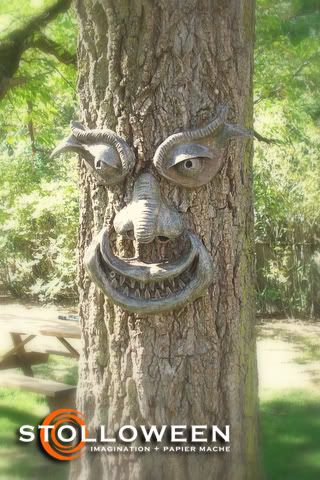
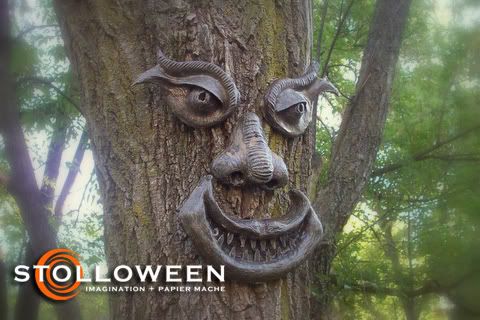
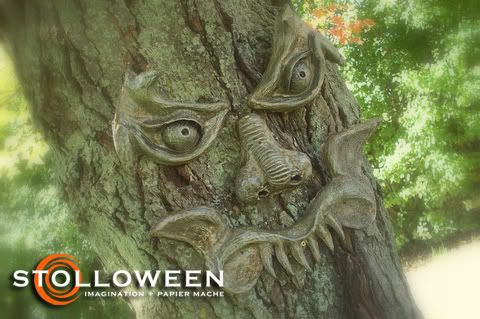
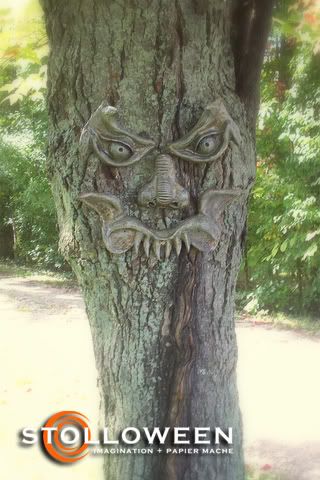
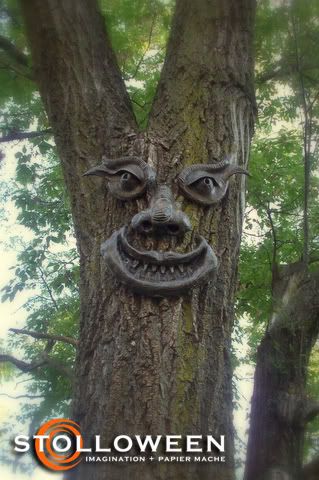
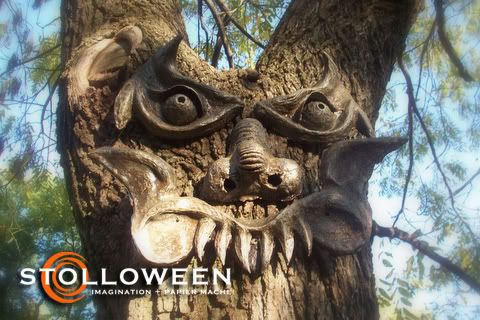
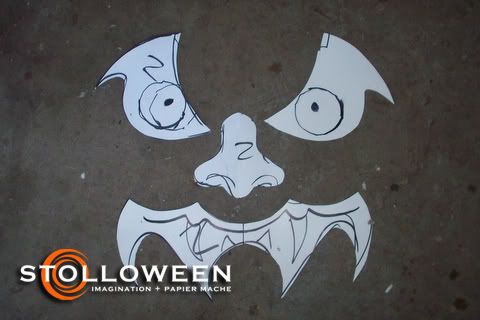
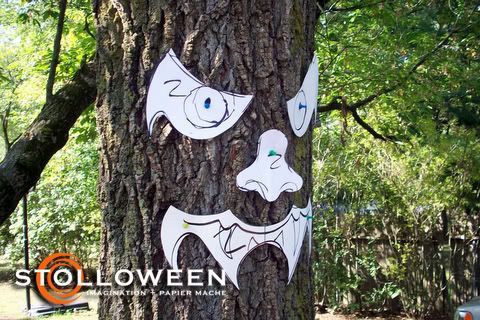
The first step involved designing the eyes, nose and mouth. A pattern or template was cut from poster board, then placed on the tree to confirm proper sizing.


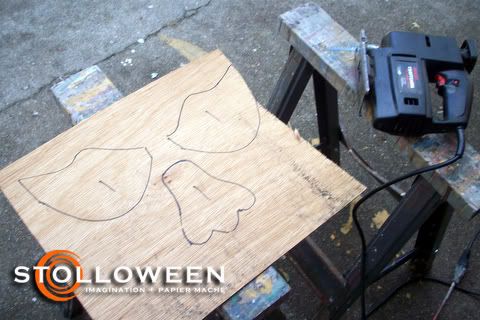
The pattern was then transferred to some scrap paneling and cut with a scroll saw.


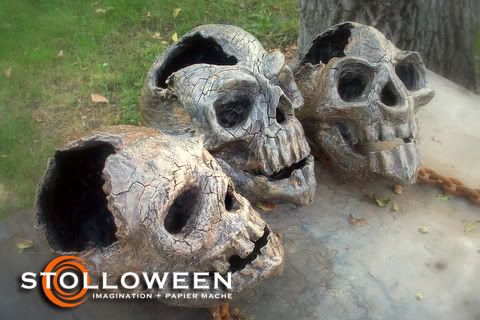
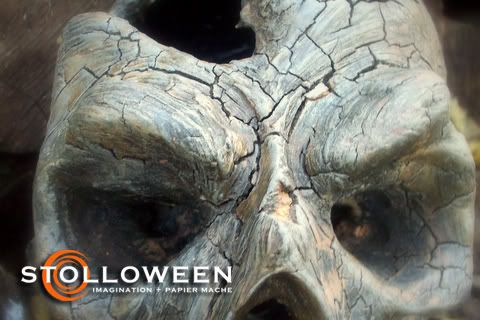
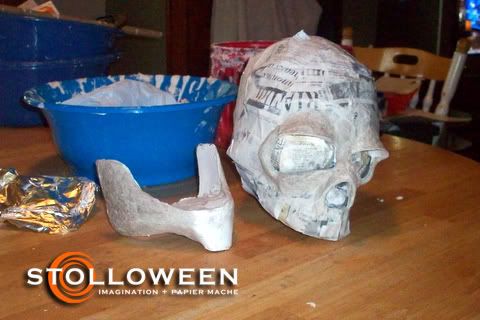
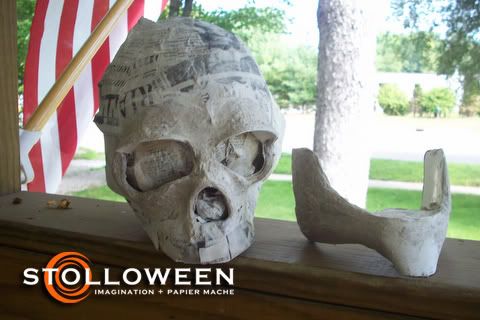
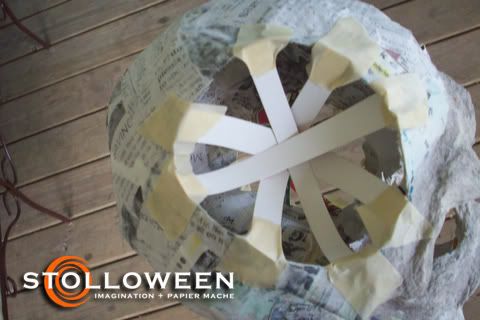
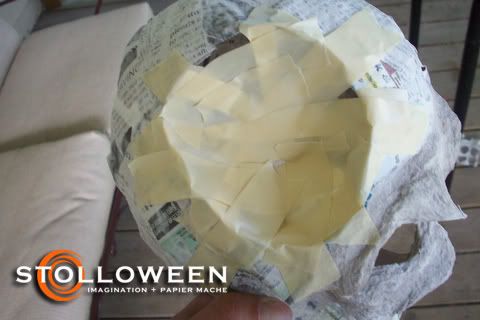
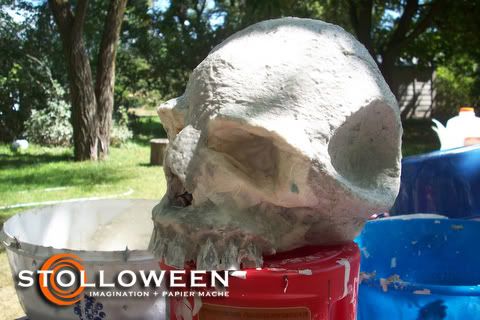
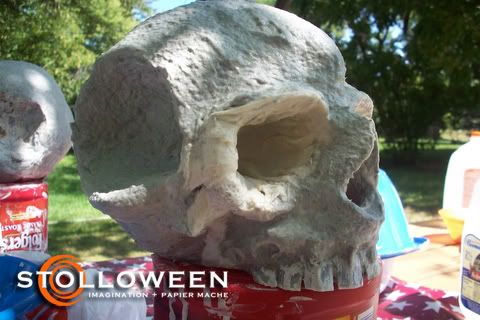
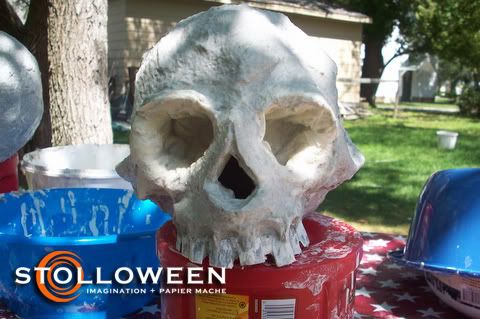
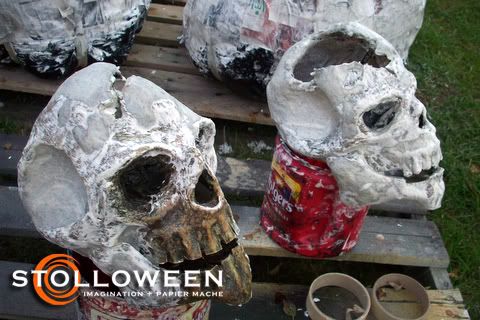
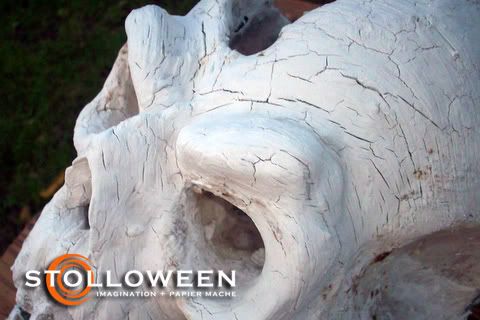
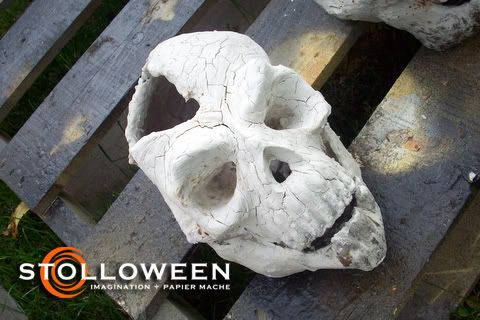
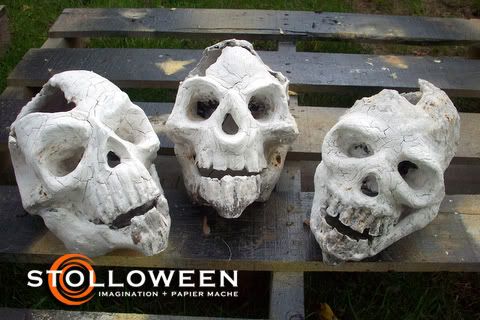
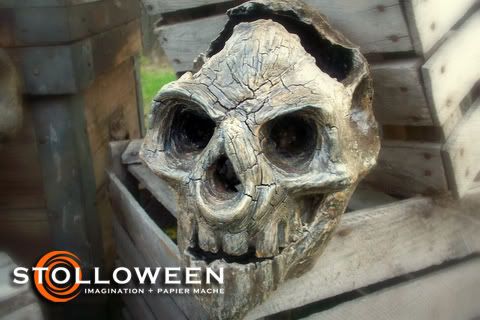
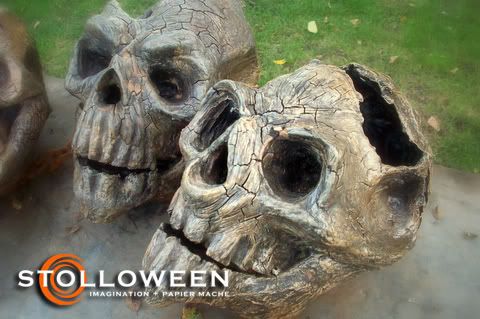
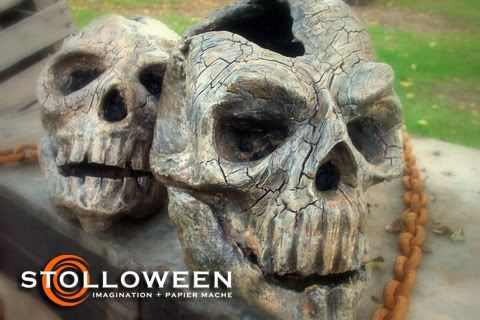
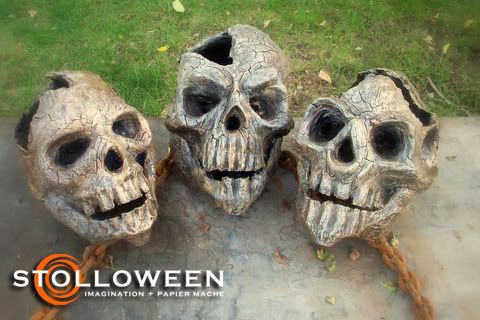
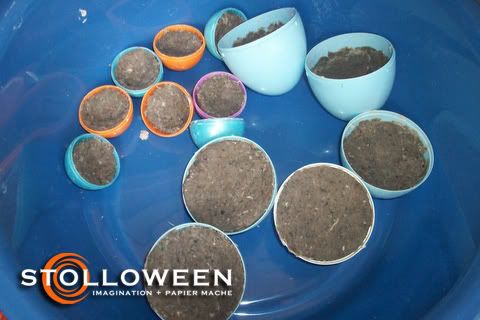
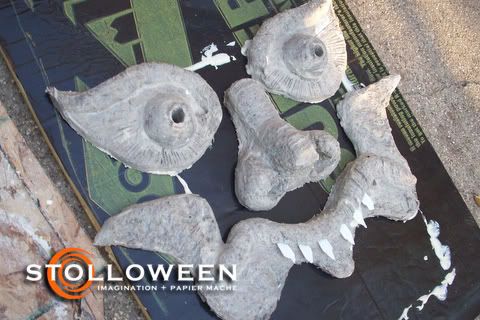
Homemade papier mache clay was used to sculpt the eye, nose and mouth designs onto the wood cut-outs. The eyeballs were made by molding the shapes from large plastic Easter eggs.


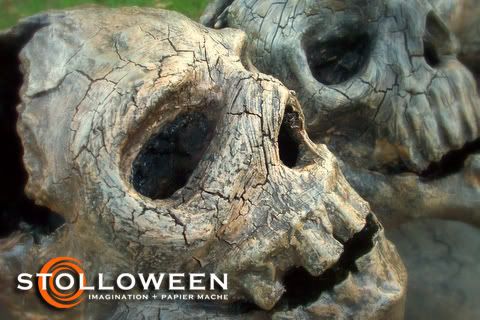
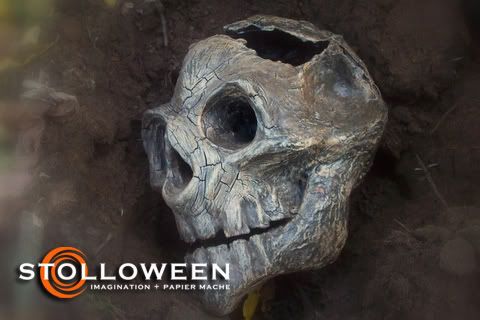
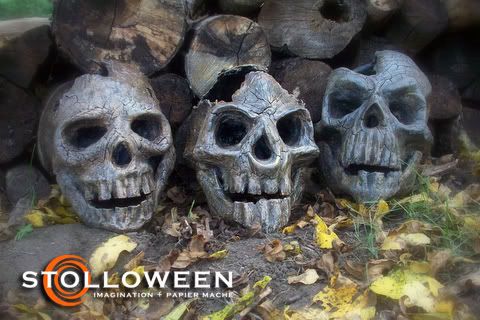
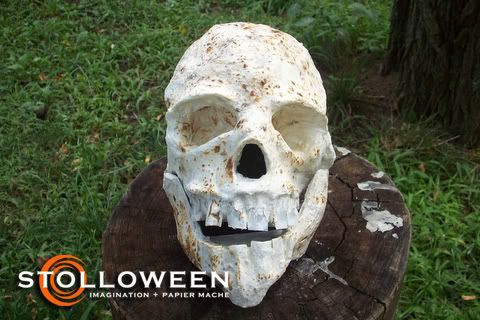
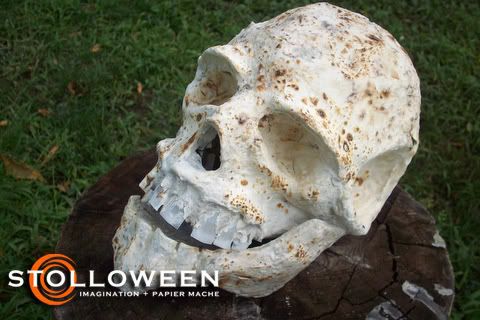
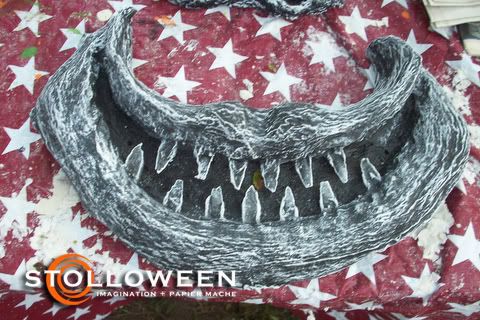
Once the papier mache has dried, the pieces were painted with flat black latex the colorized with diluted acrylics. A light oak stain was also added to “warm up” the colors.


The pieces were attached to the tree with large screws. A pretty simple prop that adds a boost to a yard or would have great potential in a haunted forest or trail.


Friday, September 26, 2008

Scarecrow Skulls


This project started as an attempt to develop a papier mache skull making class, after a few snags and some unsatisfactory results the project was scrapped but later resurrected after some experimentation with different techniques, materials and textures.


The base form for the skull was created by stuffing a plastic grocery bag with crumpled newspaper. A poster board face template and jaw were created using the same techniques as the Demon Reaper Skulls. The only difference in the process was that the plastic grocery bag was used instead of an inflated balloon.


The eye sockets were created by filling with paper towels soaked in papier mache paste, papier mache clay was used to create the facial features. Sections of a recycled plastic milk jug were used to create the teeth.


After the papier mache skull had been created I experimented with creating a texture by coating the prop with a thick mixture of flour and water (no glue or other additives) then blasting the paste with a heat gun to form a bubbled and cracked texture. The result was interesting but it still needed to go a step further.


In my mind I was picturing something more like an archeological relic, so I took the skulls (after I had already painted them) and smashed holes in the skull with a hammer. The result was broken and fragmented skulls. Papier mache clay was added to reinforce the shattered mache.


After some experimentation I came up with a clay recipe that cracked during drying. The recipe stills needs some experimentation before I will publish it, but it looks like a promising technique for achieving a very natural looking cracked pattern.


The skulls were then base coated with flat black latex paint and dry brushed with white primer. A combination of diluted acrylics were used for the final color then a coat of light oak stain.


LinkWithin

Blog Widget by LinkWithin